

There are as many different of greenhouses as there are farms, farmers, gardeners, and homesteaders.
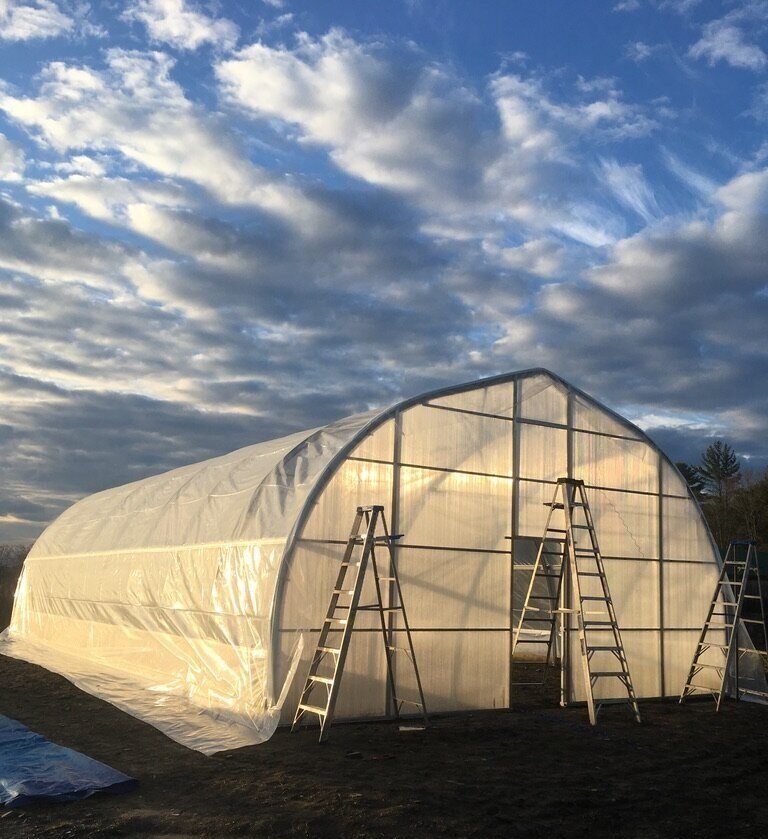
Tunnels can be over 100 feet long and 30 feet wide, or as little as 12’ x 24’. Endwalls can be plywood or poly, wood-framed or steel. Covers can be the standard one layer 6 mil, 4-year, UV-treated poly, or two layers, UV and IR (infrared) inflated, or some alternative. You can have doors wide enough for people or tractors, passive or thermostatic vents at the gable end peaks, roll-up sides that are manual or automatic, and that’s just the beginning...
Bottom Line: You have a lot of decisions to make when thinking about your new high tunnel structure. Each decision will alter the timeframe, materials required, cost, etc. It is essential that you take your time to do as much research and planning as you need so you know exactly what you're looking to build.
Below is a basic overview of things you'll want to be thinking about. Take a spin through our Gallery to see a variety of different design options and considerations.

We have created a Greenhouse Design Worksheet to help you work out all the details of your project. Print the worksheet, read through the design components and features laid out on this page, and take the time to put together the most complete outline possible for your project and budget.
Vine Ripe is always available to help you work through all the possible options.
give us a shout, and we'll get started.
Manufacturer
There are dozens of different high tunnel hoophouse manufacturers out there, each with their own sales pitch, pros, and cons. Probably the four most common structures you'll see around New England are from the manufacturers below. If you have very specific growing or construction requirements, you'll want to contact the manufacturers directly for more insights into the specifics of their products.
All four are perfectly suited to virtually any agricultural purpose including plant production, seed starting, livestock housing, and storage. All are delivered as a complete kit depending on your needs, can be heated or unheated, come in a variety of widths and lengths, can be modified or adapted as needed, can be used for four-season growing and are designed for the heavy snows and winds we get in New England.


Ledgewood
Ledgewood tunnels come in 1.6" - 1.9" diameter galvanized steel frames available in four foot increments of length, and up to 30 feet wide. Ledgewood tunnels have traditionally employed lumber hips to secure cover poly, but we no longer recommend this. A mainstay in the region, Ledgewood provides some of the best customer service in the business.
Harnois
Harnois tunnels are from Canada and use a unique "ovaltech" galvanized steel tubing for framing that is designed to be stronger and more load bearing than the typical cylindrical tubing. Available in widths 21.5' - 42', Harnois houses are taller, wider, generally more robust structures that can be a little more challenging and considerably more time-consuming to build.
Rimol
Rimol tunnels are very similar in design to the Ledgewood frame overall, but come standard with aluminum wiretrack hips, trusses on every bow, and can include everything you need in one package deal including steel framing and polycarbonate for endwalls, high wind bracing, wind corner panels, sliding, hinged, or roll-up doors, etc. The complete package from one source makes Rimol a cut above.
CT GREENHOUSE
CT Greenhouses are relatively new to the scene, but are very similar to the Rimol tunnel in frame and design. They come standard with aluminum hips and roll-up sides, but differ in the specifics of their endwall design and come construction details. VRGC recommends some alternatives where there are disadvantages in these aspects of the design, but the frame itself is a solid product and easy to construct.
VRGC Recommends
We have built countless high tunnels over the years and have settled on a handful of key component recommendations we believe pay for the themselves in the long run. Here’s a quick rundown of a few:
Steel-framed endwalls covered with woven poly or polycarbonate will not need to be replaced for a very long time if ever!
Aluminum double wiretrack hipboards ONLY - don’t consider anything else. Lumber hipboards will be the first thing to rot on your tunnel and require replacement.
Always add wind corner panels, they’re super cheap and easy, and protect your roll-up sides and crops from wind damage.
The prefabricated polycarbonate sliding doors available are totally worth the investment for easy access year-round without taking up any space inside the tunnel, no interference from snow or ice, and will last many years.
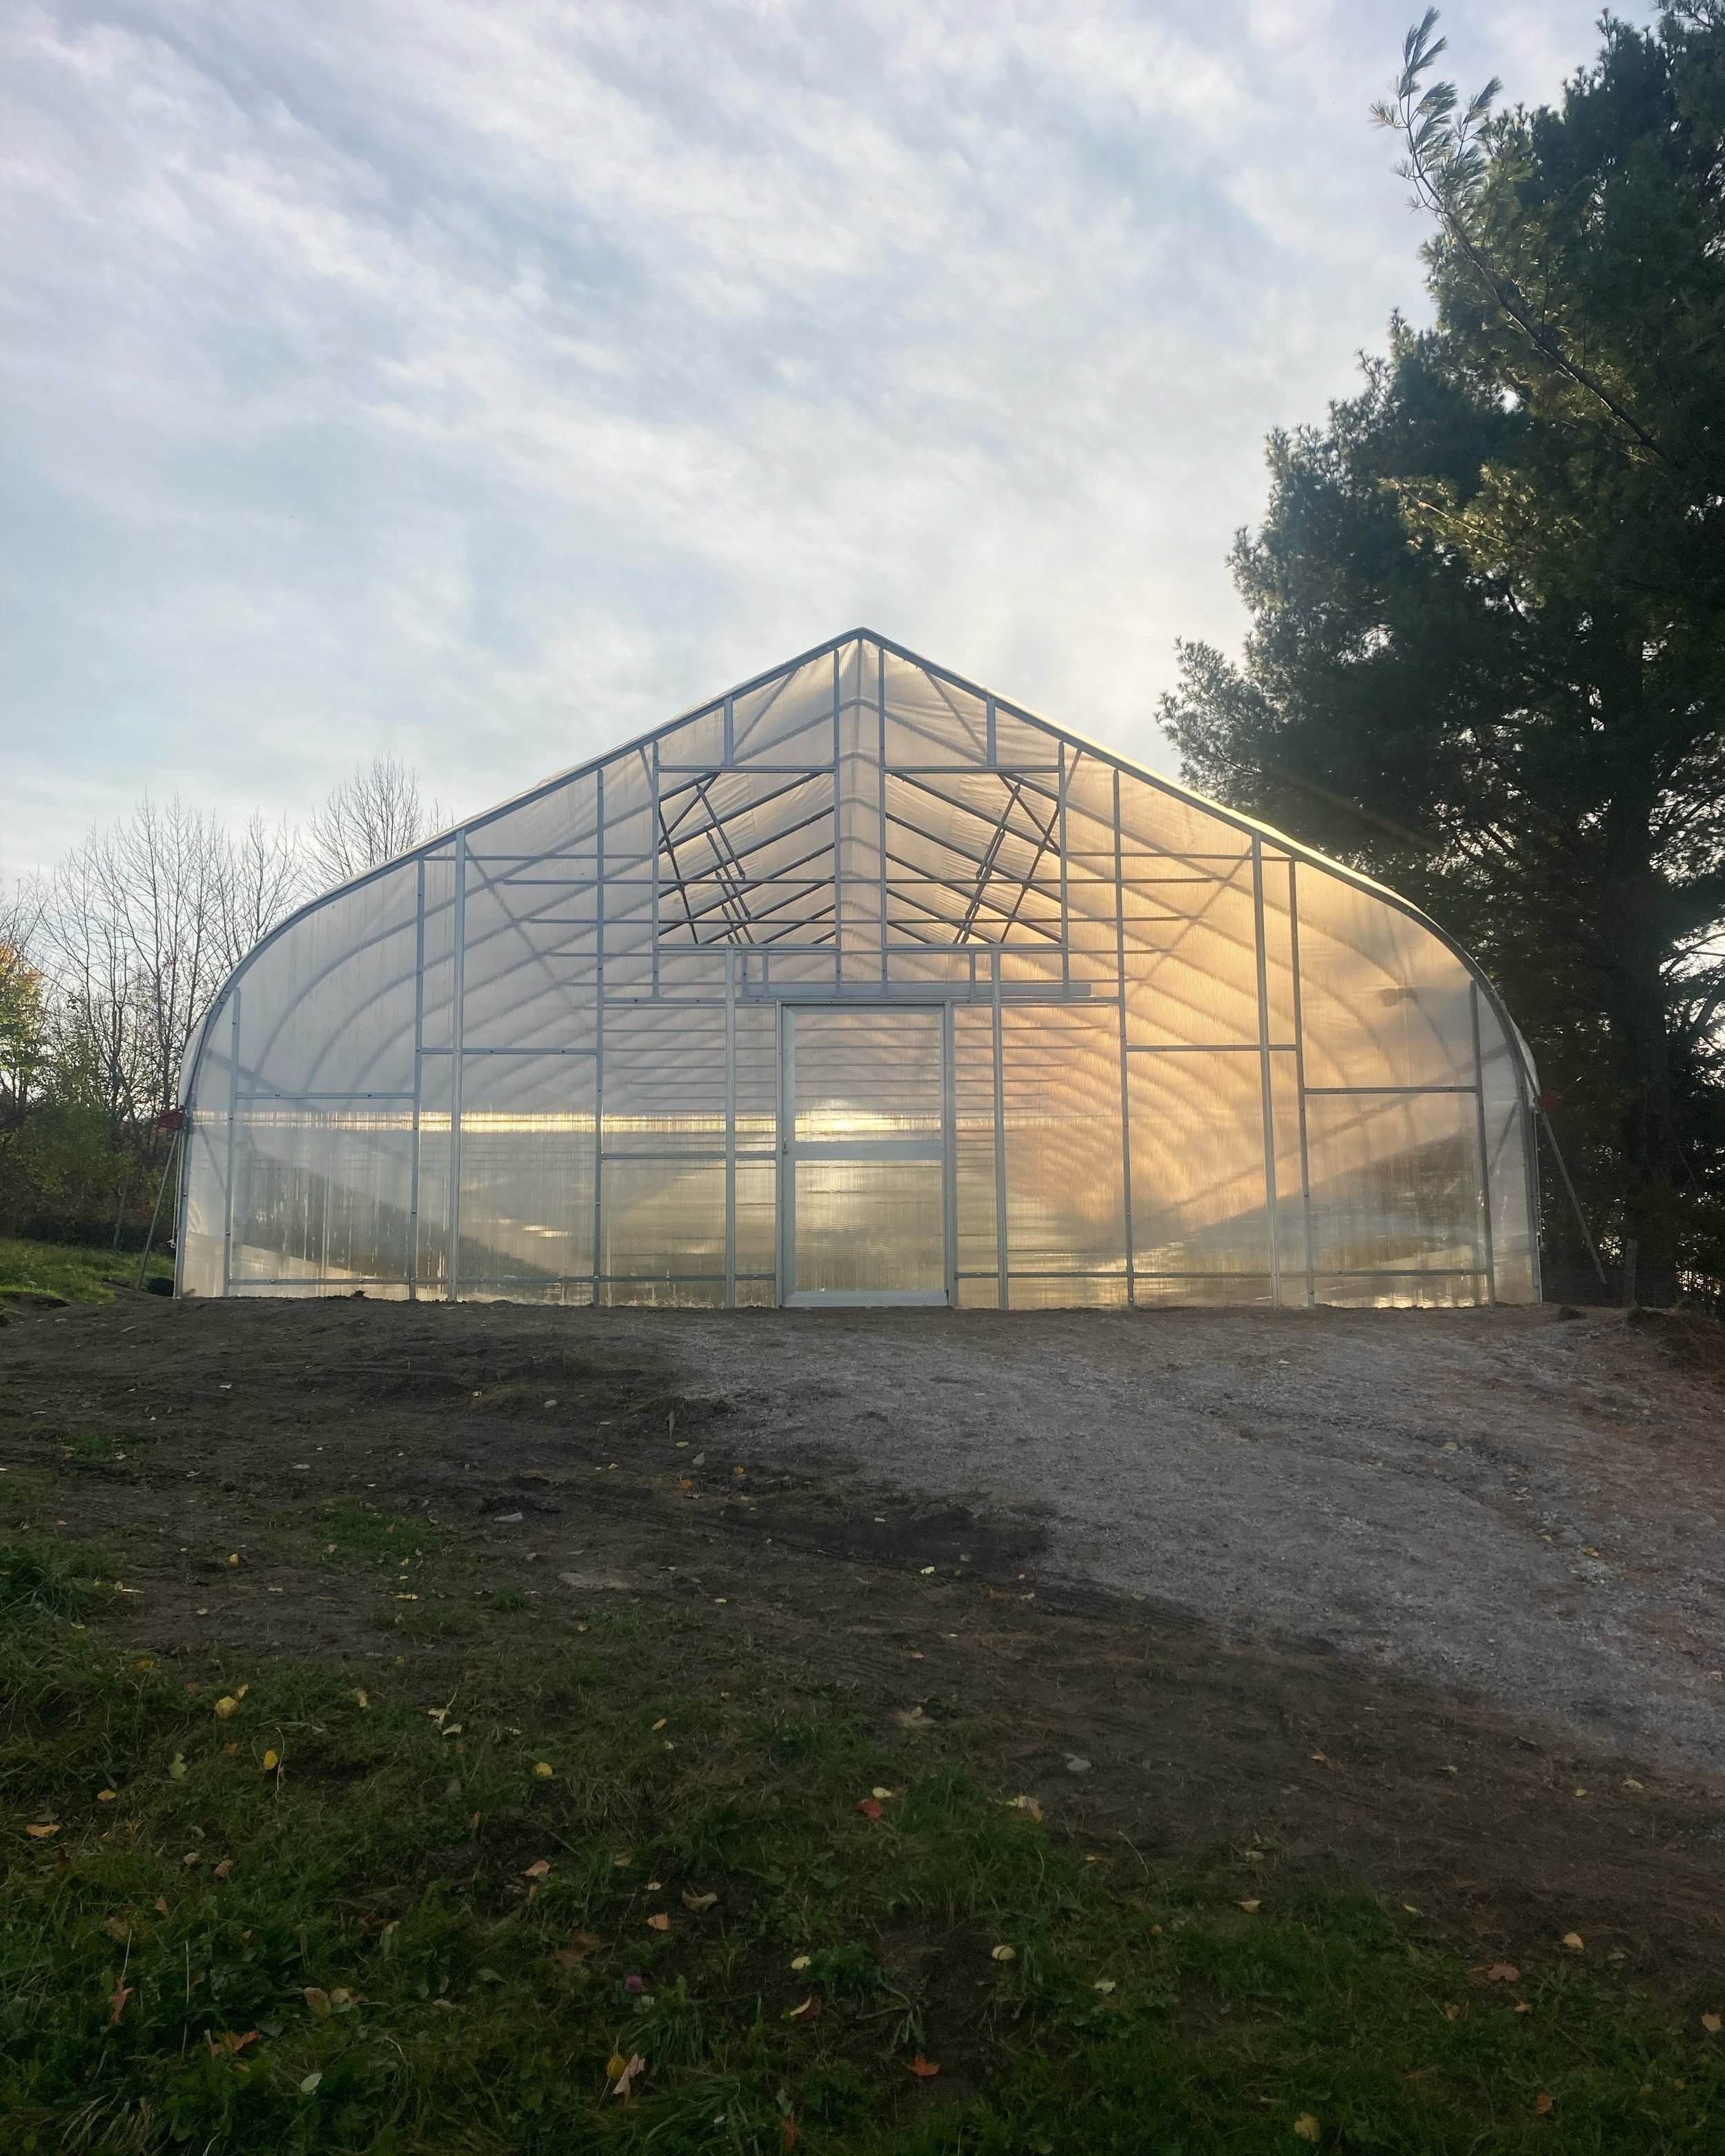
Endwalls
Framing & Covering - Endwalls can be wood-framed, steel-framed, covered in poly, plywood, a little bit of both, some other lumber, or polycarbonate sheets. Some manufacturers may recommend one over another: poly endwalls need to be repaired and replaced on occasion, plywood can warp and rot over time, and doesn't let any light in, while polycarbonate is more expensive but lasts much longer. For wood-framed endwalls, I generally recommend 2x4 rough sewn hemlock from a local sawmill, but you could go with whatever you prefer.
Attachments - You should consider how you want to attach your endwall framing to your endbow. Ledgewood houses supply steel pipe strap that wraps around the bow and screws to lumber framing, while Rimol and Harnois tunnels use different steel bracket styles. I personally recommend steel endwall framing brackets that can be ordered from an outside supplier, which are considerably sturdier.
Doors & Vents - Aluminum louvers, fans, passive windows, double doors, single person doors, sliding doors, roll-up doors, garage doors, etc. Depending on your needs, doors and vents can be framed in any configuration. You can buy prefabricated doors and vents, or build your own. Check out the Gallery for images of most options out there. Keeping in mind how much actual real estate you have on your endwall, try to plan out exactly what kinds of doors and vents you want and right where you think they can go.
Endwall Sills - Steel-framed endwalls generally have studs set into concrete in the ground, while lumber-framed endwalls require a sill or baseboard, to build your framing on. Some sills are set directly on the ground, on crushed stone, or cinder blocks. Some are a single layer 2x4, while others are more robust. We are leaning towards steel-framed endwalls set in concrete these days, but for those that prefer lumber framing, we’re recommending a baseboard system that does not sit on the ground at all but is instead attached to posts set in the ground.


Covering (Glazing)
Covers can be the standard one layer 6 mil, 4-year, UV-treated poly, or two layers - UV clear and IR (infrared) inflated, or some alternative like woven poly. Traditional greenhouse poly is generally good for four to five years as it degrades a bit and becomes opaque over time. It's obviously susceptible to tears and punctures if mistreated, though it's easy to patch, and fairly easy to maintain and replace.
Bees need ultraviolet (UV) light to navigate. If a grower uses bees to pollinate plants in the greenhouse, purchasing a film that allows some of the ultraviolet light energy spectrum to pass through may be important. Otherwise, UV blocking film is said to reduce whiteflies, thrips, aphids and other insects. It can also control some fungal diseases. Infrared (IR) additives provide light diffusion, absorb and re-radiate infrared heat back down to the crop during the evening hours, reportedly saving as much as 30% on heating costs.
Double layer inflated poly requires power for a small blower fan, can reduce heat loss at night by nearly 40 percent, and can assist in shedding snow in winter. Double layers generally include the IR poly on the inside and the UV clear poly on the outside layer. I always recommend adding an inflation regulator to any inflated house. The regulator helps maintain the optimal pressure in your inflated bubble (0.15" of water column). By allowing for any extra pressure to be expelled through the counterweighted regulator vent, you avoid any issues that can be caused by pressure at the hip and endwall attachments.
Alternative coverings like woven poly or SolaWrap are considerably stronger and longer lasting, but also much more expensive and reduce light penetration by at least some small degree. For more information you should contact the manufacturers of these products directly.

Double layer inflated 6-mil poly shedding snow in winter.

"Woven Poly is strong, durable, and resistant to heat, extreme weather and tearing. The toughness is due to the weave, the thickness, and the UV stabilizer." (www.northerngreenhouse.com)

Traditional, single layer 6-mil poly with sides rolled up.

"SolaWrap greenhouse film saves energy, offers UV protection and has unmatched durability with transparency that extends the growing season. The unique bubble design provide strength, longevity, and better growing." (www.solawrapfilms.com)
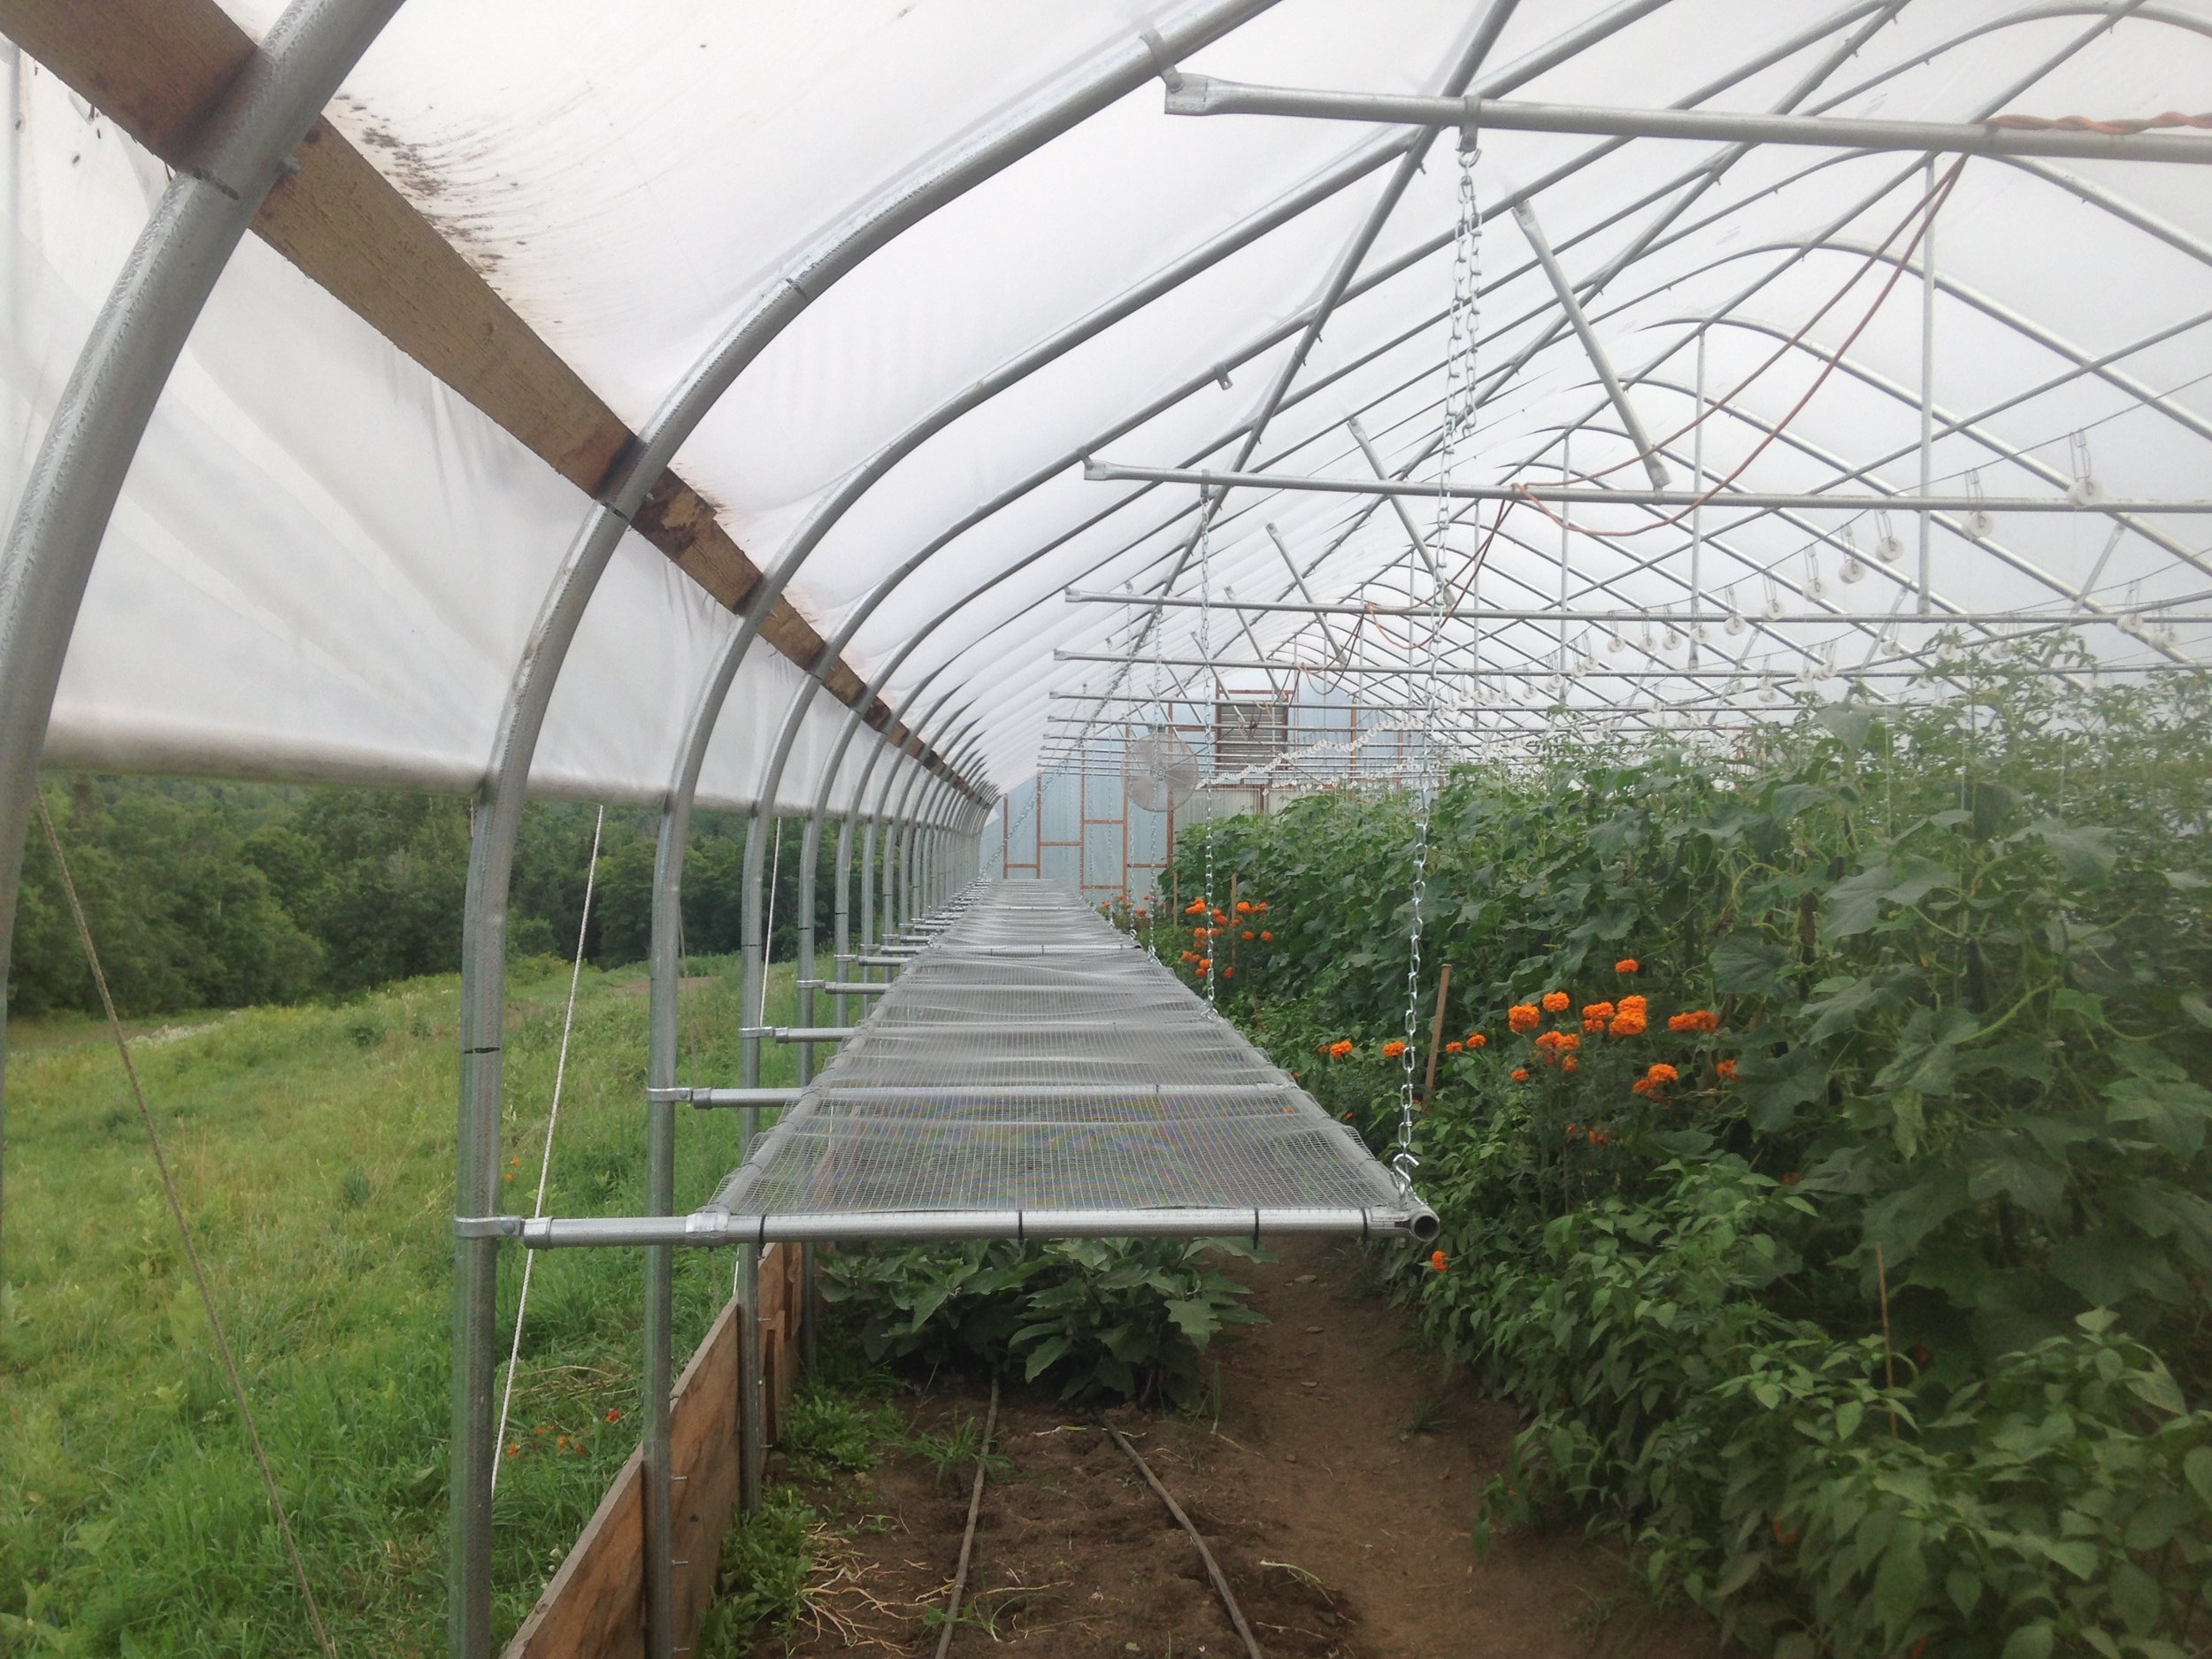
Hips, Baseboards, Curtains, & Roll-Up Sides
Hipboards - There are typically two types of hipboard setups depending on what you're looking to do. Hips can be wood, and use a wood batten system to attach the poly, or they can be aluminum double wirelock channel and "wiggle-wire." At this point, we no longer recommend lumber hipboards at all as they are the first thing to rot on any tunnel structure. For the money, the aluminum wiretrack is definitely the way to go.
If you're considering poly endwalls, you'll also want to consider wirelock channel for up and over your endbows. This channel will carry both your endwall and cover poly in the same channel. Plywood or polycarbonate endwalls can also have wirelock on the endbows, but you'll want to specific endbow wirelock channel that has a flange that hangs over your endwall material. Wirelock is easy to install, never rots, and is easy to remove and replace when it's time to replace your poly.
Baseboards - All tunnels require baseboards both for structural stability, and for somewhere to either attach your cover poly, or to roll your sides down to. Lumber baseboards will rot and need replacing over time. We recommend 2x10 rough sewn hemlock for lumber baseboards as it tends to be a bit more “rot-resistant”. You can use dimensional pine instead, but it will definitely rot quicker. Note: Most states don't allow the use of pressure-treated lumber on certified organic farms, if that lumber is going to come into contact with the ground.
Roll-Up Sides - Most hoophouses employ roll-up sides as a primary feature for optimal ventilation. Roll-up sides can either be manual or automatic. The automatic version are connected to a thermostat and open and close on their own throughout the day maintaining whatever mean temperature you set it to. Manual roll-up sides require a little more work, but they're far less expensive. There are hand crank gearbox, and hand-over-hand type manual options as well, that come standard with most tunnels. The Harnois houses come with the crank, while the Ledgewood and Rimol each use a slightly different hand-over-hand style.
Generally, the roll-up sides are the same single or double layer cover poly continued beyond the hipboard to the roll-up bar, but it can be a separate sheet of woven poly from the hip to ground only, with the cover poly terminating at the hipboard on both sides. This system means your roll-up side curtains will likely last much longer and need to be replaced far fewer times than the cover poly, which will be replaced every 4-6 years.
Curtains - Only the Harnois tunnels come with an standard side curtain option. A poly curtain is attached to the baseboard along each side, and goes up about 16-18" where it is attached to a wire or aluminum wiretrack running the length of the tunnel. This curtain allows you to not roll the roll-up side all the way down past the baseboard to create a seal, but just enough so it is over the curtain by 6" or so. Not rolling the side to the ground also means your roll-up side doesn't necessarily get buried in snow in the winter, though snow does pile up, of course. The curtain also provides some additional protection from colder breezes creeping in under roll-up sides potentially damaging young or sensitive plants.
Corner Wind Panels - I highly recommend adding corner wind panels to every greenhouse structure. Covering all four corner bays between the hipboard and baseboard with poly prevents cold wind from creeping in at the corners when your roll-up sides are rolled all the way down, and prevents the ends of your roll-up sides from being beaten into the tunnel by wind causing wear and other issues.

Double wirelock channel at the hip.

Hand-over-hand roll-up side from Ledgewood.

2x4 hipboard and batten attachment system.

Gearbox style crank roll-up side mechanism from Harnois.

Side curtain on an Harnois greenhouse.

Corner wind panel and insect netting.

Single wirelock channel on the endbow.

2x4 hipbaord and batten system before poly installation.
VENTILATION

Roll-Up Sides - Everyone’s first choice for ventilation is generally roll-up sides. Roll-up sides can be manual or automatic. The automatic require a power source and are connected to a thermostat and controller. Manual roll-up sides require more work, but they're less expensive. There are hand crank gearbox, and hand-over-hand type manual options as well, that come standard with most frame kits.
Fans & Vents - Beyond roll-up sides, fans and vents are the next obvious solution for high tunnel ventilation. Ranging in size from12” fans and 16” louvered shutters to 50” fans and 60” shutters, vents and fans provide cross ventilation from end to end and at the peak of your tunnel where heat rises and gathers throughout the day. All fans require power to run, more power than most smaller off-grid solar systems can provide. Vents on the other hand can be manually operated by hand, powered by small off-grid solar, or by Univent Wax Automatic Openers for vents under 30”.
For even greater ventilation and air circulation, tunnels that are fully powered can also choose to incorporate circulations fans, or HAF fans, as well. Many successful growers get by with passive ventilation from roll-up sides and gable end peak vents, or roll-up sides alone. If you are looking to fully outfit your structure with fans and vents, click here for a very helpful guide to sizing optimal ventilation equipment.
POWER

For tunnels constructed relatively close to existing power sources, running power and wiring your greenhouse to run all your power needs is a relatively simple solution. However, not every tunnel is built near an existing power supply, and running power long distances can be very expensive. Where access to the power grid is unavailable or cost prohibitive, growers can choose to explore solar power options. The ubiquity of solar power systems across the region from homeowner size to many-acre solar arrays means solar power is generally available in one way or another to almost anyone willing to make the investment in clean, reliable, long-term energy solutions.
Off-Grid Solar Power - Where larger scale solar power systems are not financially viable or desired, VRGC now offers small-scale off-grid solar systems designed to power inflation blowers, vents, and automatic roll-up sides. Unfortunately, the smaller scale capacity systems we can offer are not able to provide the necessary power to run fans, but with thermostatically controlled vents and roll-up sides, passive solar-powered ventilation can provide significant ventilation for your high tunnel growing needs.
Click here to read more about our Solar Power Systems.
Site & Orientation


Orientation - You'll be looking to get the most sun year-round on your tunnel structure, so as a general rule, and if your site can accommodate it, at northern latitudes (above 40 degrees), an east-west orientation works best to catch maximum light the length of the south side during winter.
You should also consider the prevailing direction of the wind. Wind blowing over a greenhouse is much like wind going over the wing of an airplane wing. Building your house broadside to prevailing winds should be avoided if possible.
You'll also want to consider shadows and shade from trees, hills, and adjacent buildings, including the shadows one greenhouse may cast on another one next to it. If possible, it's recommended that you locate your greenhouse at a distance equal to at least twice its height away from any potential shade source or other structure.
Site - You'll clearly want to consider where you have optimal soils when you're thinking about your site, but you should also consider proximity to reliable water and power, ease of accessibility and snow removal in winter, and the slope of the land. As level a site as possible is always best, and reduces your site preparation costs and requirements. A slightly sloping site end-to-end can allow for better drainage, as does a slightly raised site, but these conditions make construction a little trickier. Sites in depressions or valleys are likely to flood seasonally.
Make sure you're also paying attention to property lines, town right-of-ways, wetlands, and anything else that may impact how you choose your site.
A “well-prepared” construction site will be:
Free of any substantial stones or rock. If need be, you might want your excavator to trench the perimeter of your greenhouse site where your posts and endwalls will go, refill and tamp the soil with substantial rocks and stones removed. Any rocks, stones, or other obstacles will otherwise need to be removed by hand adding considerable time to your project. PLEASE do not use rocks, stumps, lumber or anything else to build up any portion of your site!
Away from any prominent ledge or other solid substrate that may interfere with construction.
At least 15’ away from any other structure.
Recently mown and free of any substantial weed or other growth
Free of any prepared beds or crop planting.
Level graded – Perfectly level is the goal, but if there has to be a slope, you should aim for no
more than 1% over the width (3” - 4” over 30’), or 2% over the length (2’ over 96’).
As dry as possible. No pooling mud or water. All necessary swales or site work necessary to
direct water away from the site successfully completed before construction.
If your site requires the adding of material to build the site up, the prepared site should be a
minimum of 6’ wider and longer than the footprint your hoophouse frame requires, and
built of substantial, clean soil. Plan to seed around any sloped sides to help prevent erosion.
Have reliable, safe access for a truck.

* A site that is not well-prepared can dramatically increase the time and cost of your project.
We recommend Alex Hunkins as our preferred excavator. Alex is a consummate professional and because we have an ongoing relationship with him, he knows exactly what we want and will be sure to get it done right.
You can reach Alex directly at (802) 229-0213 or alexhunkins@yahoo.com.
Other Details
There are a ton of add-ons and details you can consider adding to your greenhouse project including heaters, irrigation, cooling, shelving, benches, plant support, insect barriers, wind corners, and more. There are couple suppliers I recommend for additional parts: Nolt's Produce Supplies and Griffin Greenhouse Supply. While there are specific features that come with or are available from each manufacturer, keep in mind we can pretty much add any feature or detail to any style house.